Step 1: Login to the administrator and click on the article manager:

Step 2. Select the Category for the specific Rotator (for example: Front page Rotator-NEEDS PICTURE, School Rotator, Parish Rotator, etc.):

Step 3. Click on the “New” button to create a new article:

Step 4. Give the article a title. The rotator is set up to display text and will not save if there is nothing in the Article Text box. One of two things can be done:
1. Enter text inside the Article Text box.
2. Click in the Article Text box and hit “Enter/Return” on the keyboard.
Then click on “Images and Links”:

Step 5. Click “Select” for “Full article image” in that section:

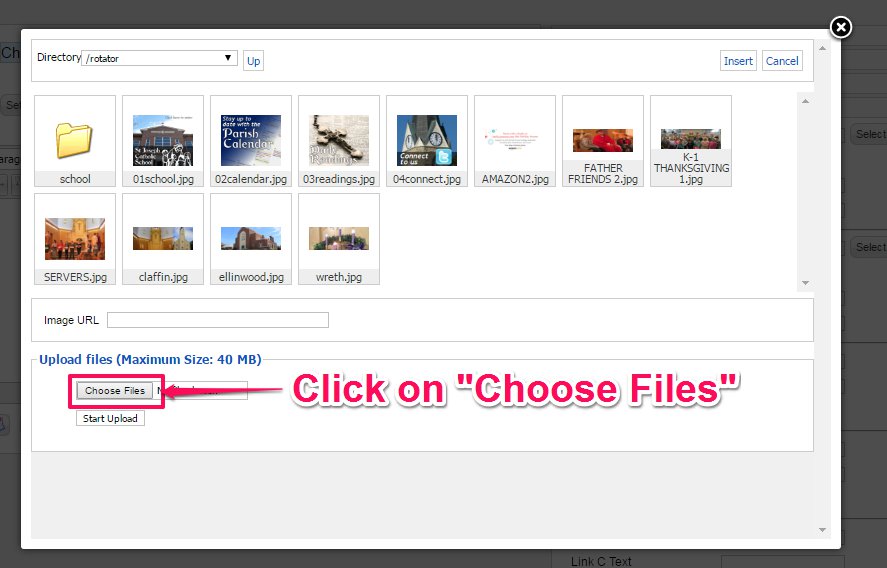
Step 6. Select the rotator folder, or the designated folder for rotator images:

Step 7. Click on “Choose Files”:
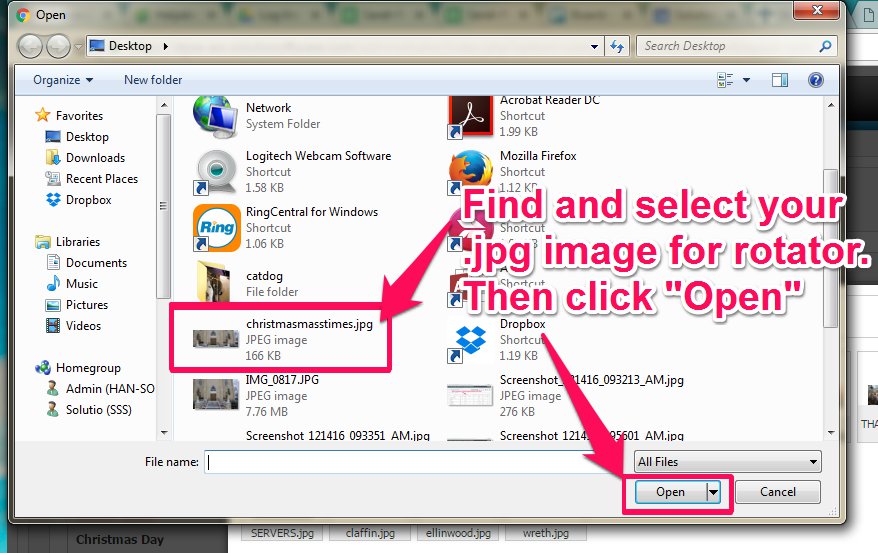
Step 8. Find and select your image for the rotator and click “Open”:
Step 9. Click “Start Upload”:

Step 10. Now that the image is in the system, select it and click “Insert”:

Step 11. Click “Save” and refresh the webpage to check your work:
